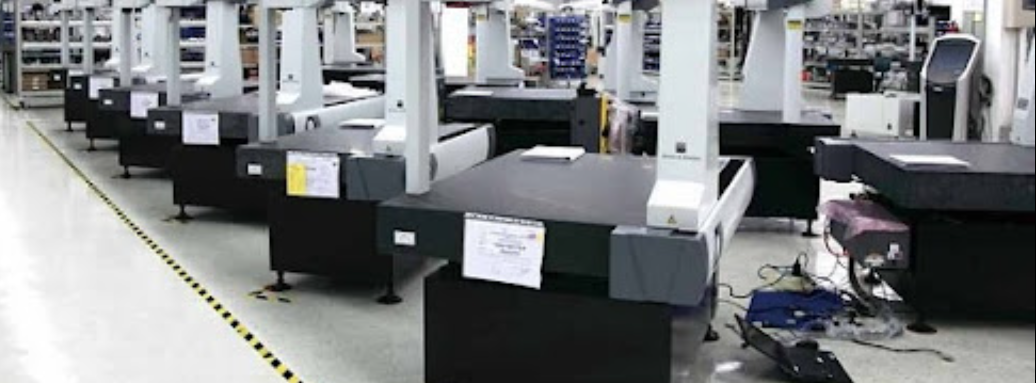
Hexagon Coordinate Measuring Machine (CMM) (800x1200x600mm)

The Hexagon Coordinate Measuring Machine (CMM) utilizes precision linear rails and advanced image processing technology to measure the length, width, and height of target objects. With a measurement range of 800x1200x600 mm, the CMM can automatically measure objects, record data, and calculate special parameters using advanced algorithms. This article introduces the structure, applications, operation steps, and precautions for using the Hexagon CMM.
Structure and Applications
The Hexagon CMM features both contact and non-contact probes. The contact probe physically touches the target object for measurement, while the non-contact probe utilizes laser technology to measure distances. These designs make the CMM suitable for various measurement scenarios, such as measuring large automotive parts, handling objects over 10 meters in size, and analyzing dimensional differences between target objects and drawings.
With the growing adoption of 3D printing, CMMs are widely used to inspect the dimensions of first-piece 3D-printed products, ensuring manufacturing precision meets design specifications.
Primary Usage Methods
When using the Hexagon CMM for measurement, the target object is usually placed in the measurement chamber for at least 5 hours to stabilize at room temperature (typically 20°C) to avoid errors caused by thermal expansion. Once stabilized, follow the operation steps to perform measurements and import the collected data into a computer for analysis. These data can be further utilized in 3D-CAD software for design and comparison analysis.
Operation Steps
- Prepare the Object: Place the object in the measurement chamber and allow it to stabilize for at least 5 hours to reach room temperature.
- Set Measurement Parameters: Start the CMM, select the appropriate probe mode (contact or non-contact), and configure the measurement plan according to the object’s characteristics.
- Perform Measurement: Operate the machine according to the steps to measure the shape, dimensions, and other parameters of the object.
- Data Import and Processing: Import the measured data into a computer for 3D modeling and comparative analysis.
Precautions
- Ensure the measurement environment maintains a stable temperature to avoid affecting measurement accuracy.
- Regularly calibrate the CMM to maintain its precision.
- Avoid collisions or excessive force during measurement to protect the probes and rail systems.
- Keep the equipment clean to prevent dust from interfering with measurement accuracy.
In conclusion, the Hexagon CMM plays a vital role in precise measurements for various industrial applications. Whether in product development, quality inspection, or 3D-printed product verification, it offers high accuracy and stability. By following the operational steps and precautions, users can enhance measurement precision and efficiency.
#YongYiTech: #Services, #SemiconductorComponents, #AutomationEquipment, #PrecisionComponents, #RoboticArms, #StainlessSteelProcessing, #EngineeringPlastics, #CeramicProcessing, #Assembly

